Configuring Counterpoint to send receipts via e-mail
Follow these steps to configure Counterpoint to send receipts via e-mail:
-
Select Setup > Point of Sale > Stores to display the Stores window and click the Receipts tab.
-
In the E-mail subject field, enter the subject you want to use by default for e-mail messages that include receipts (e.g., Your receipt from Camptown Golf).
-
In the E-mail body field, enter the body text you want to use by default for receipts sent via e-mail (e.g., Your receipt is attached. Thank you for your business!).

-
Save your changes and close the Stores window.
-
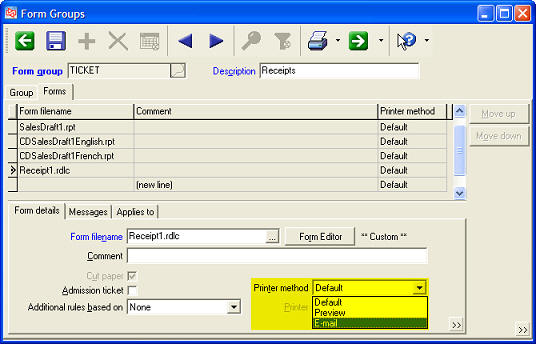
Select Setup > Point of Sale > Form Groups to display the Form Groups window.
-
Enter or look up the Form group you use to print receipts (e.g., TICKET), click the Forms tab, select your receipt form (e.g., Receipt1.rdlc), and then select E-mail from the
 Printer method list box.
![]() You may wish to specify a different Button image, Button label (e.g., E-mail), and Shortcut key for the form group on the Group tab.
You may wish to specify a different Button image, Button label (e.g., E-mail), and Shortcut key for the form group on the Group tab.
If you would like to be able to choose whether to print a receipt or send it via e-mail when you complete a ticket, do the following instead:
-
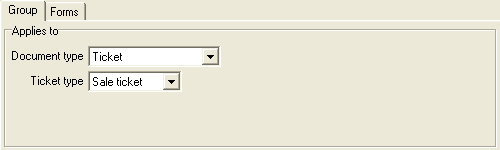
Create a new Form group that
applies to sale tickets. -
Specify a Button image, Button label, and Shortcut key for the form group button.
-
Click the Forms tab, enter or look up the Form filename (e.g., Receipt1.rdlc) for the receipt form you want to use , and then select E-mail from the Printer method list box.
-
Save your changes to the form group and close the Form Groups window.